
Most deckbuilders let you survive a bad turn. You take some chip damage, you shrug, you move on.
Fogpiercer does not work like that.
One bad turn here can take three carriages off your train permanently, along with every card those carriages were feeding into your deck. You don’t get chipped. You get amputated.
So think of your train as a conga line at a wedding. Everybody is holding onto the person in front of them, and if the guy in the middle trips, everyone behind him is going down with him.
That mental picture explains about 80% of the mistakes new players make. I’m going to keep coming back to it.
Your train is your deck, your health, and your action points
This is the part people take three runs to actually feel. Every carriage on your train does three jobs at once.
It’s a chunk of health. It’s a physical object taking up space on the grid. And it’s a card family feeding cards into your deck.
A four car train gives you 5 AP per turn and a four card hand. Add a carriage and all of that goes up.
Lose a carriage and it all goes down, including the cards. Sell your Artillery and those Artillery cards vanish from your deck mid run.
You are never just losing health in this game. You are losing options.

Carriage order matters more than anything else you’ll do
Back to the conga line. If something blows up a car in the middle of your train, everything behind it decouples and is gone too.
Not damaged. Gone.
Most carriages sit at 2 to 3 health, so this is not some rare disaster scenario. Two hits on the wrong car and your back half is scattered across the map.
The Protector shields both forward and backward, which is why it goes directly behind the locomotive. It covers the thing you can’t lose and the thing right behind it.
Put your fragile stuff at the very back where it can only take itself down. And reorder your train at safe zones before a fight starts, not while people are shooting at you.
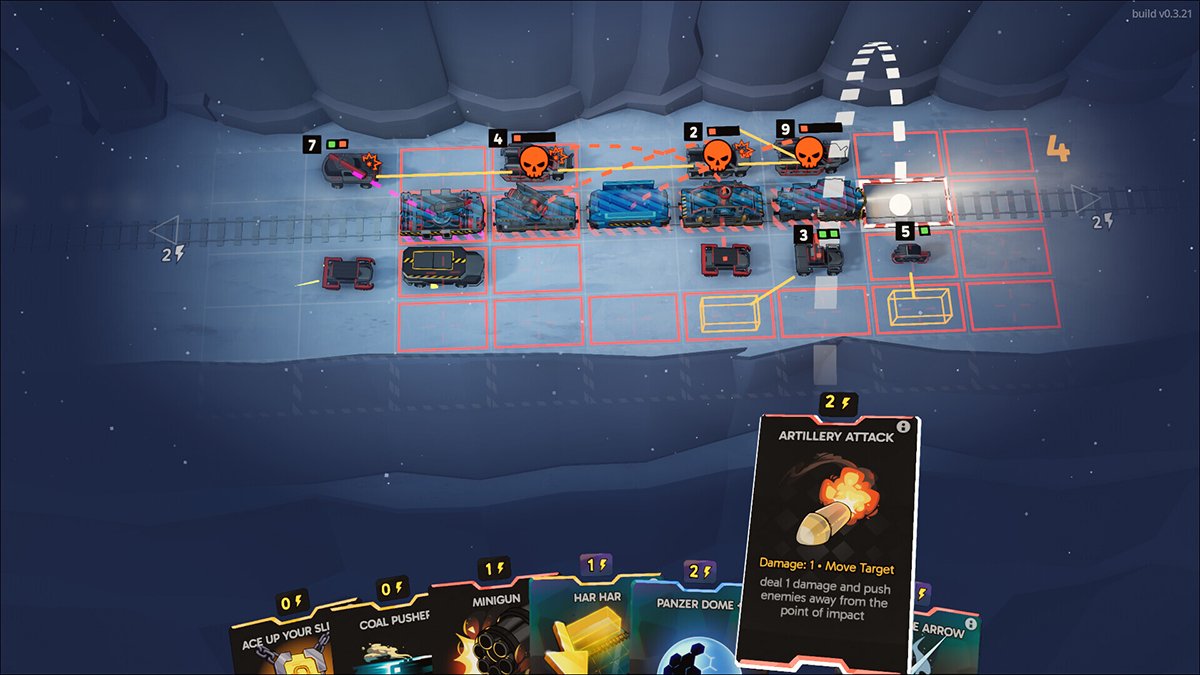
Read the intent marks before you touch a single card
The game tells you exactly what’s about to happen. Red arrows and hash marks lay out every enemy’s plan for the turn.
Here’s the important bit: enemy intent is locked in. They’ve committed to a target square, not to your carriage specifically.
Move your train out of that square and the shot still goes off. Sometimes it lands on the enemy standing behind you.
So the first thing you do every turn is nothing. Look at the board, find the threat that actually kills something, then start spending AP.
A longer train is not automatically a better train
New players see a carriage for sale and buy it because more stuff is good, right?
A carriage runs 100 scrap, or 90 at a green flagged station. That’s a real chunk of your run economy.
And it does two things you might not want. It dilutes your draws, because now the card you actually need is competing with a bigger pile. It also adds another link to the conga line for enemies to snap.
Ask what problem the carriage solves before you buy it. If the answer is “it does damage and I like damage,” skip it.
Buy carriages to fix a hole in your train, not to make the train longer.
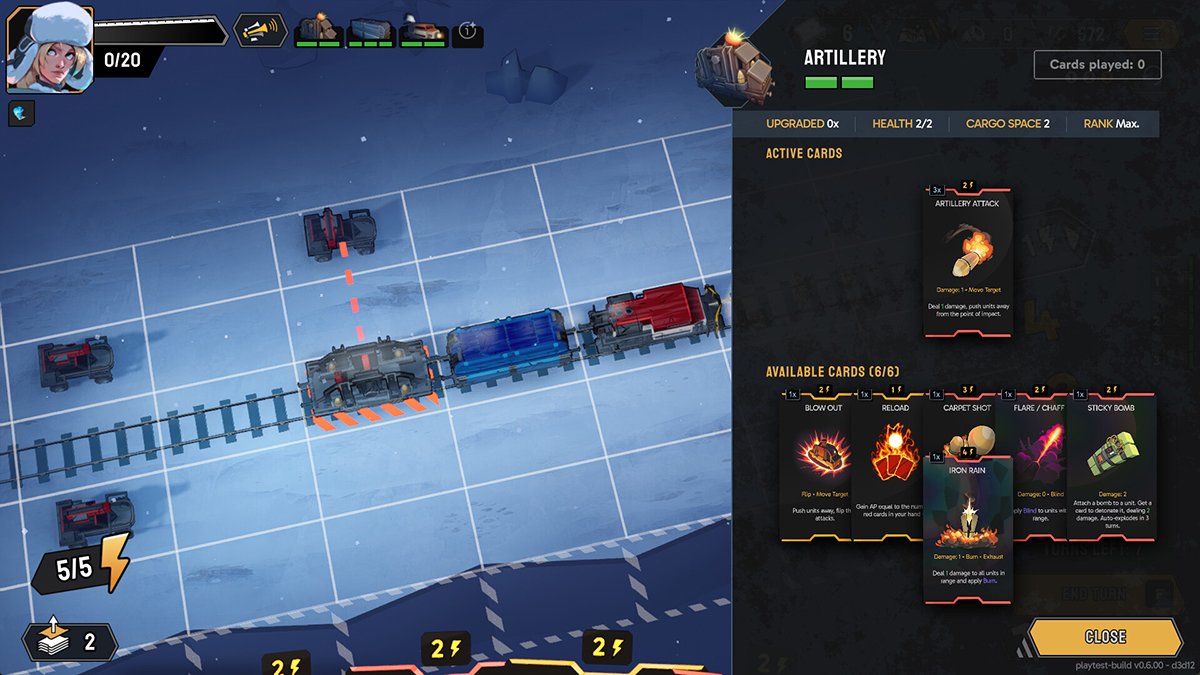
Kill the support trucks first, every single time
These little things have 1 health and pay out 12 scrap each, and they are the most annoying units in the game.
They repair enemies. They shield enemies. They shove enemies out of your carefully planned artillery shot.
Then they drive away and you never get the scrap.
Repair, shield, movement, disabling, it doesn’t matter which flavor you’re looking at. One hit removes it and one hit is all it takes.
Everything else on the map is a problem you can solve later. The support trucks are a problem that gets worse.
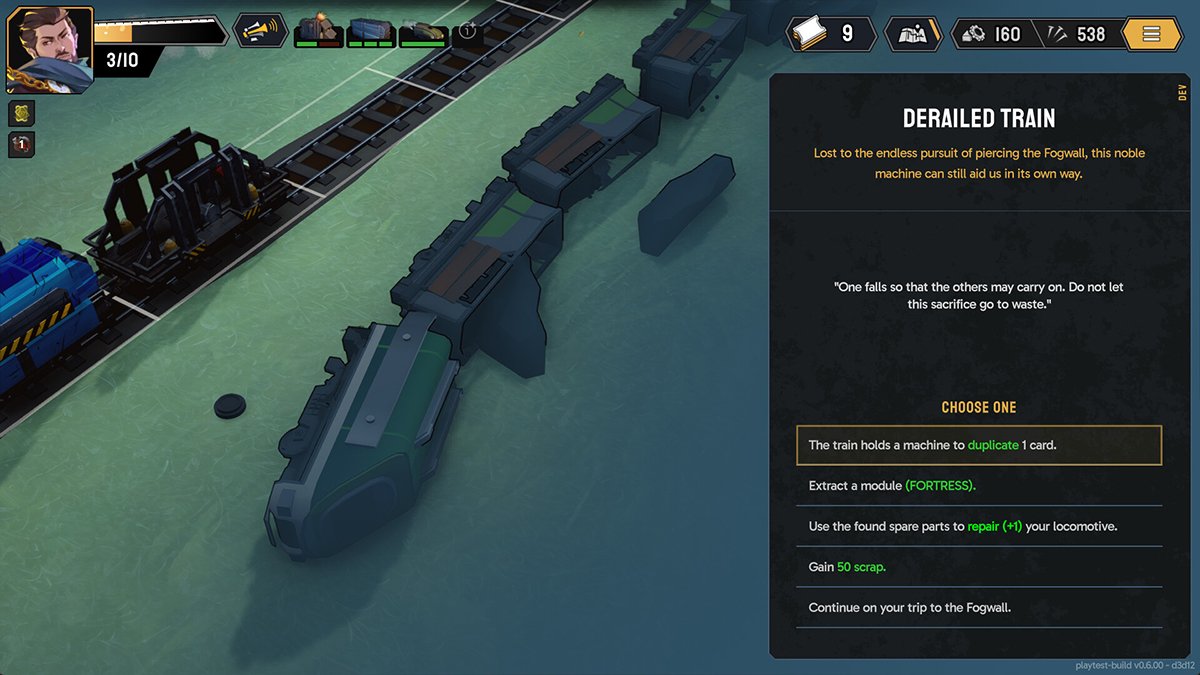
The canyon at the bottom of the map is a delete button
This is the tip that turned the game around for me. Look at the edges of the grid before the fight starts.
The canyon along the bottom row instantly destroys anything pushed into it. Health totals don’t matter. Armor doesn’t matter.
The cliffs along the top row are gentler and just deal 1 damage on collision, but they still stack up nicely with everything else.
Once you know that, Artillery stops being a damage card and starts being a shove card. You’re not trying to kill the big scary unit, you’re trying to nudge it two squares south.
Same goes for enemies colliding with each other. Free damage on both, and you spent the AP on positioning instead of raw numbers.
Ram things with your own train
Your locomotive is a weapon. Drive the front or the back of your train into an enemy and you deal instant damage for the cost of movement.
The catch is that collisions hurt whatever is doing the colliding. So shield the carriage first, then ram, and you take nothing.
Train movement also gets more expensive the more you use it in a single turn. Plan the route once instead of shuffling back and forth.
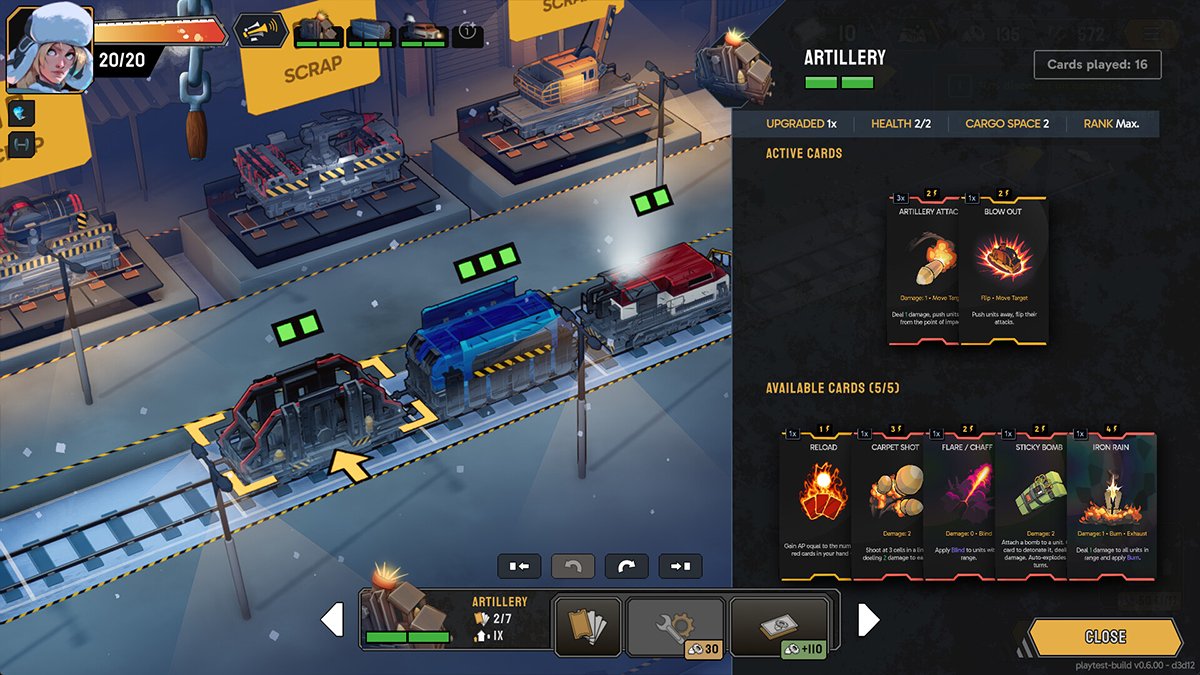
Learn four keywords and stop guessing
The card text throws a lot at you at once. Four keywords cover most of the confusion.
Cost Up means play it early, before the cost climbs. Cost Down means sit on it and play it after you’ve done your setup.
Charged eats your available AP, so it’s a turn ender, not a combo piece. Exhaust means the card is gone for the rest of the fight, so save it for the moment that matters.
The colors are a quick read too. Red is attack and pressure, blue is defense and control, yellow is tempo and setup.
If your hand is all red you’re going to get punished. Yellow cards that hand you extra AP or extra draws are what turn two okay cards into one great turn.
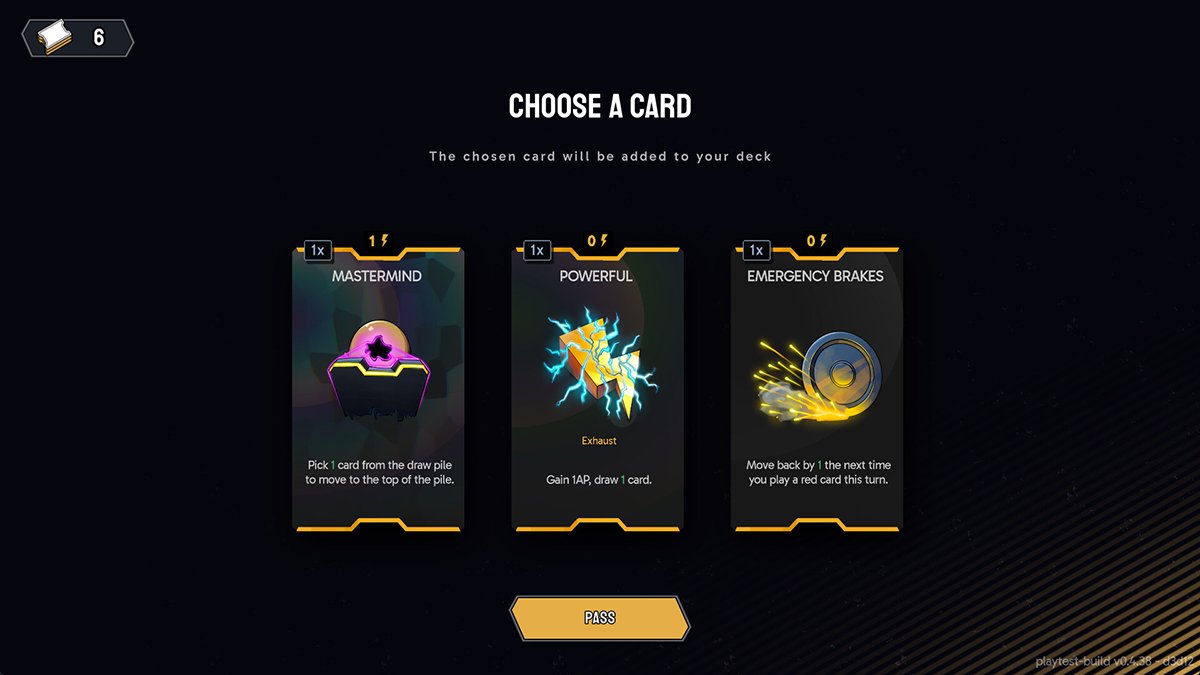
Scrap is for right now, Spikes are forever
There are two currencies, and beginners mix them up constantly.
Scrap is your in run money. Cards, carriages, and repairs at 30 scrap per health point.
Spikes are permanent and unlock new carriages across every future run. The Minigun costs 25 Spikes, the Harpoon costs 100.
Modules are the relic equivalent, and they disappear when the run ends. The only one that carries over is your driver’s innate module.
So a losing run is not a wasted run if you came home with Spikes.
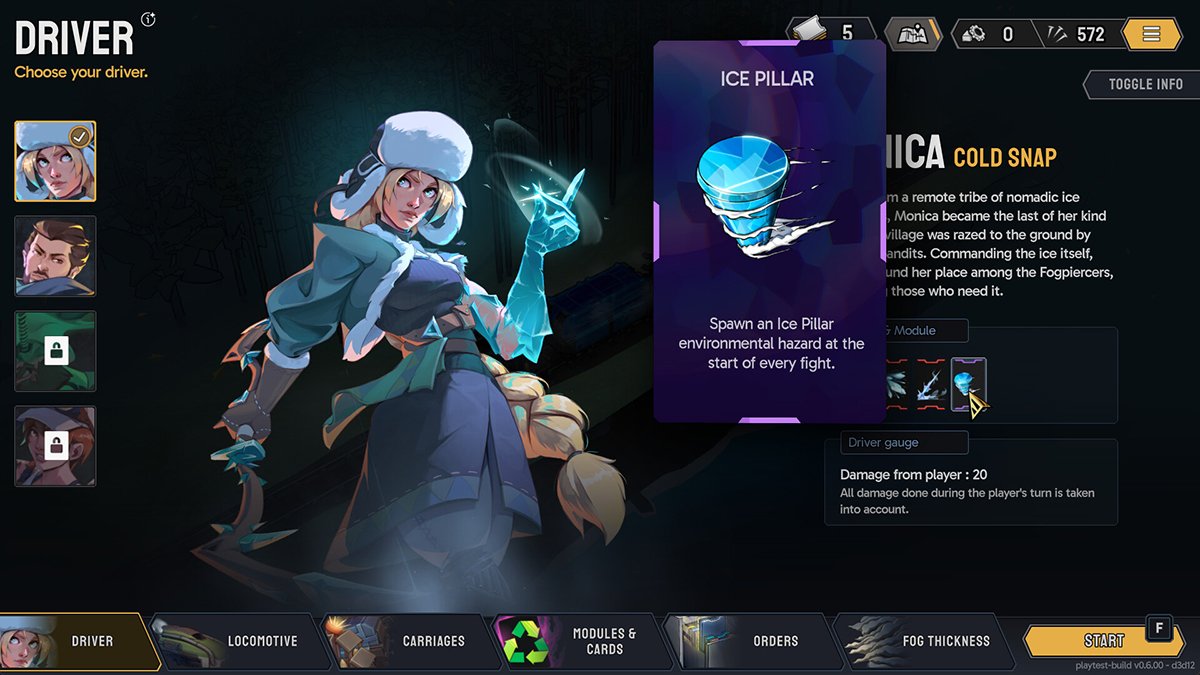
Spend the driver gauge, don’t hoard it
Every driver fills their gauge a different way. Monica needs 20 damage dealt, Pan needs 7 exhausted cards, and so on.
When it’s full you activate it and get a random card from that driver’s set.
Random. Not the card you need.
So saving it for the emergency you’re imagining is a bad plan, because there’s a good chance it hands you something irrelevant right when you needed a save.
Pop it when it’s useful and start refilling it.
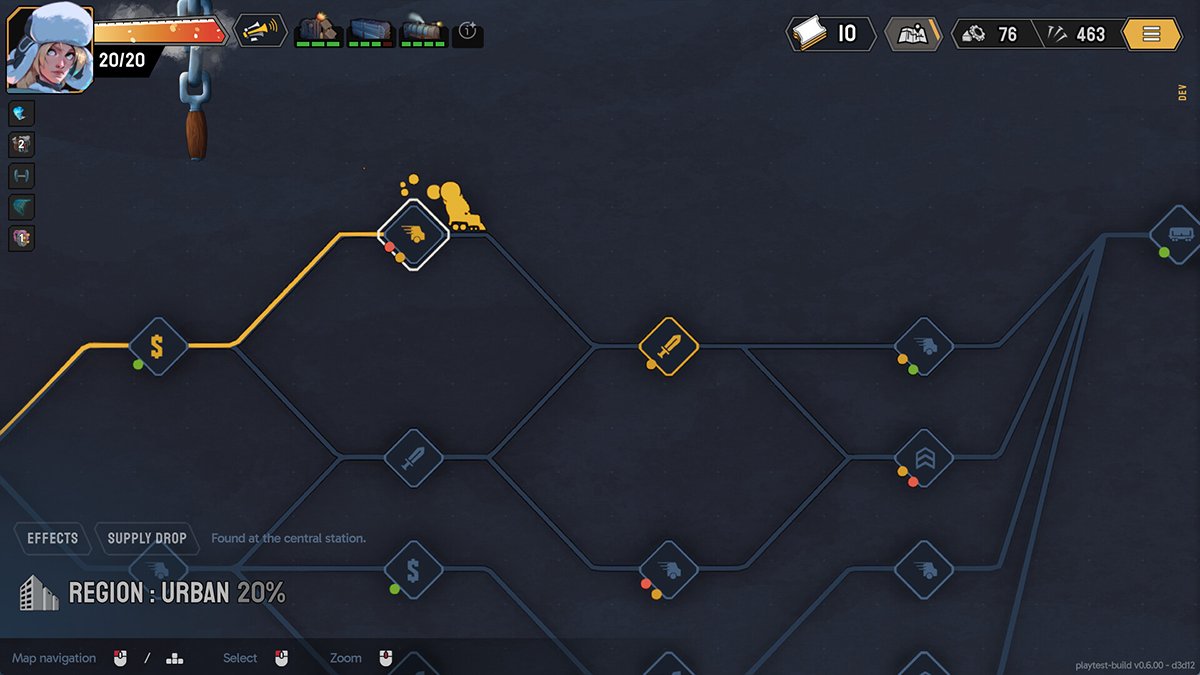
Pick routes based on what your train is missing
The region map branches through combat, convoys, Central Station, shops, random encounters, and a boss at the end.
Yellow dots on a node mean grid modifiers, so that’s where you’ll find the canyons and cliffs. Red dots mean penalties like a narrower grid, less AP on the first turn, or movement costing more.
Bosses always come with a red dot attached. Assume the fight is going to be harder than the enemy list suggests.
The routing question is never “which path is safest.” It’s which reward actually fixes the train I’m currently driving.
Down two carriages with money in your pocket? Head for Central Station. Broke with a train that works fine? Take the fights.

Some quick unlock targets to chase
A few unlocks are easy to trip over on purpose while you’re learning.
Get your train to a length of five and you unlock the Bullet locomotive. Buy a carriage five times across your runs and you get the Leeter.
Repair a total of 25 health and the Crane opens up. That last one happens on its own if you’re playing badly, which is a nice consolation prize.
One more thing worth knowing: there’s a Motion Sickness Mode in the options that cuts the camera movement without hiding any of the tactical information.
Your first run is a scouting trip. Go find out where the canyon is, lose the back half of your conga line, and come back with a train that knows better.
–
Screenshots are from the Fogpiercer page on Steam and used under Fair Use.