
Vanillaware games have a habit of hiding real consequences inside systems that look purely tactical. Unicorn Overlord is the worst offender they have made yet.
You spend forty hours building units and arguing with yourself about whether Gryphon Knights are broken (they are), and somewhere in there the game quietly asks whether a defeated commander lives or dies. It never tells you that answer is permanent.
This is every choice in the game, what each side actually pays out, and which handful of them genuinely matter. Spoilers for the ending are in the final two sections, clearly marked.
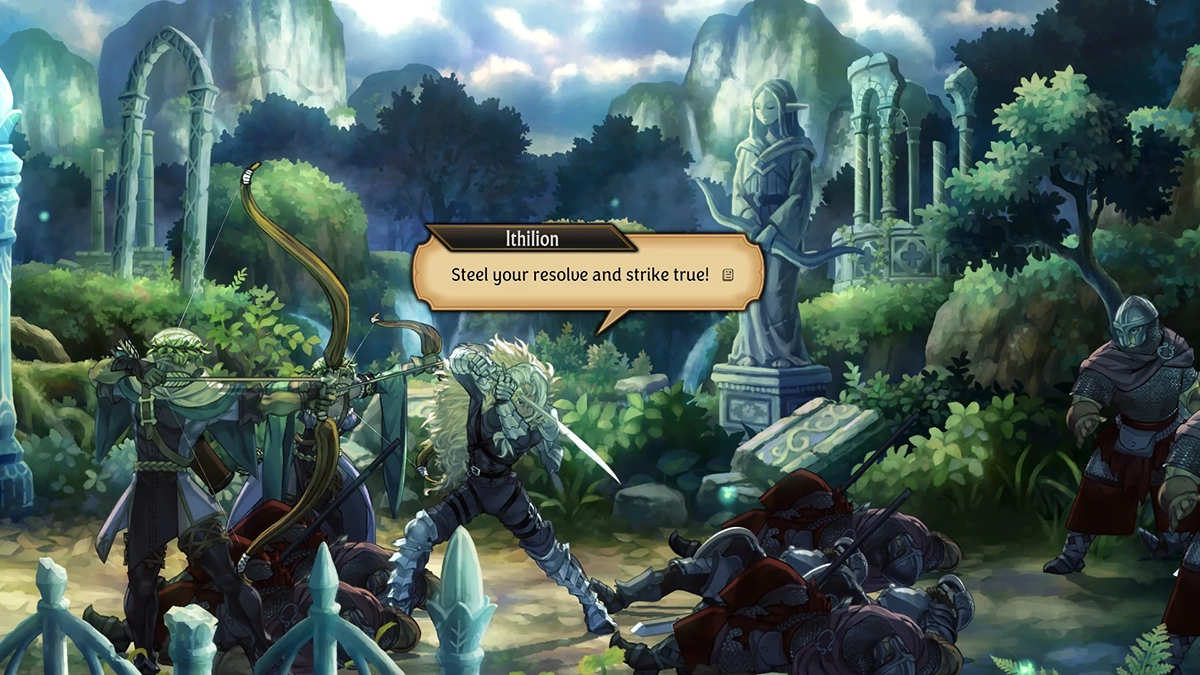
The five kinds of choice in Unicorn Overlord
Lumping all of these together as “choices” is where most players get burned, because they work differently and only some of them are reversible.
Spare or execute. You beat a named commander and decide their fate. Sparing usually means a free unit, executing pays out a resource instead.
Accept or refuse an offer. Someone asks to join. Refusing occasionally hands you an item, and usually hands you nothing.
Speaker-gated recruits. The nastiest category. The character joins only if a specific unit is the one that engages them, and the game gives you almost no warning.
Field and overworld gimmicks. Small map interactions that change a battle later. Low stakes, but free wins.
The Rite of Covenant and the ending. Two genuinely permanent decisions that shape how the story closes out.
Should you ever execute anyone?
Almost never, and it helps to know what you are actually being offered.
Honors are the promotion currency. A class promotion costs 30 Honors, so the standard 30 Honor execution bounty buys you exactly one promotion for a generic unit you already own.
Compare that to a unique character with their own kit, their own rapport conversations, and their own equipment. It is not a close call.
Divine Shards are the one argument worth hearing. Ochlys costs 30 Divine Shards at the exchange, and executing Mandrin hands you 15 of them in one go.
Even then, shards are scattered all over the world map and you can find the full 30 without killing anybody. Trading one recruit for half of another recruit is a bad deal dressed up as a clever one.
Gold is the weakest offer of the bunch. The 10,000G you get for imprisoning Gammel sounds like a lot in chapter two and is pocket change by Bastorias.

Every choice in Cornia
Cornia front-loads more real decisions than any other region, which is a strange design call given it is also where you understand the systems least.
Gammel turns up first, in A Solitary Resistance. Free him and he vows to repay you, which he does much later in Elheim.
Imprison him instead and you pocket 10,000G in war funds while he escapes and swears revenge. That gold feels enormous in chapter two and is pocket change by the time you reach Bastorias.
Mandrin is the same setup during The Winged Knight. Free him for a later recruit, or execute him for 15 Divine Shards.
Those shards are the one execution reward with a real argument behind it, since Ochlys costs 30 of them. It is still half a recruit in exchange for a whole one.
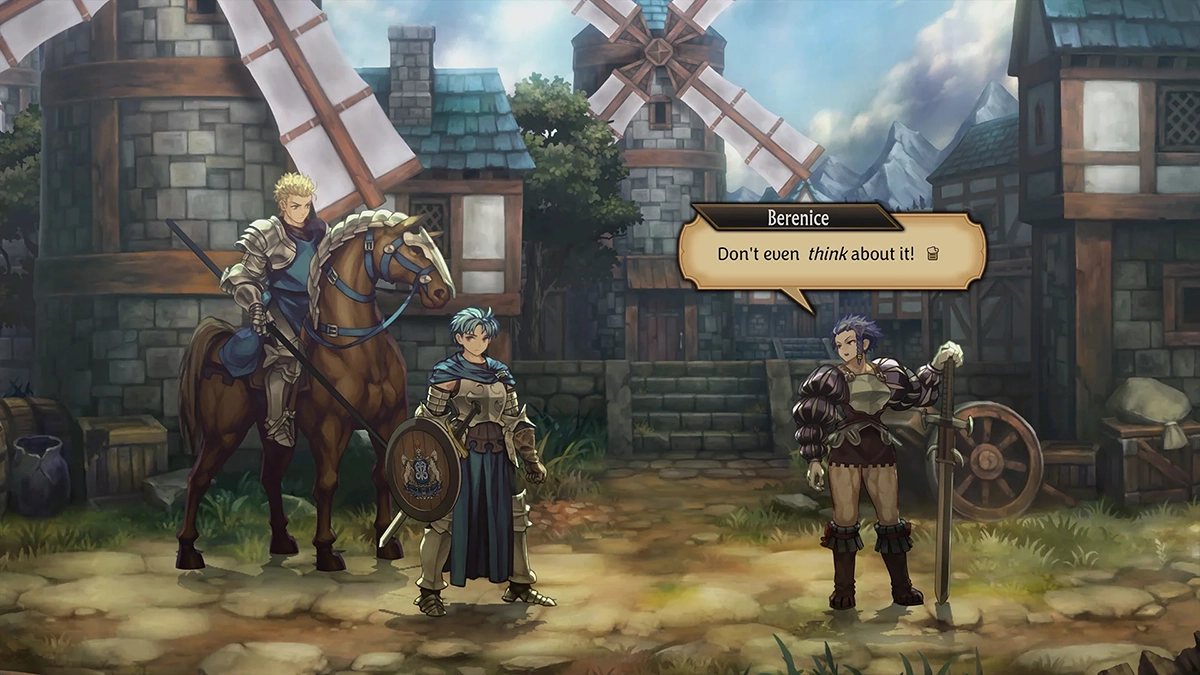
Sharon shows up in that same mission and simply asks to join. Accept and she brings the Cemeteries of Cornia side quest chain with her, refuse and you get the Hallowed Mace and nothing else.
Turning down a whole quest line for one weapon is not a trade I would make. This is the easiest yes in the game.
Mordon in The Battle for Barbatimo is the cleanest version of the core decision. Spare him for a Warrior, or execute him for 30 Honors, which buys exactly one class promotion for a generic unit you already own.
Melisandre is where Cornia gets mean. Recruiting her in The Blade of House Meillet also brings in her assistant Colm, so it is a two-for-one.
The catch is that she only joins if Alain is deployed in that battle. Leave him on the bench and you lose both characters for 30 Honors, which is the single worst trade available in the region.
Tatiana in The Tormented Helm is the one choice with actual moral weight to it. Letting her continue her research gets you a strong healer and costs you standing with the clerics, and the game is not subtle about wanting you to feel strange about that.
Shutting her down pays out five Elixirs and loses her permanently. Those are genuinely useful revival items, so this is one of the very few executions that is defensible rather than just spiteful.
Auch in The Self-Effacing Sorcerer is a plain spare-or-lose with no consolation prize attached. Spare him, take the free Wizard.
Nina in Uprooting the Rock Rat is the first speaker-gated recruit, and she is brutal about it. She joins only if Mille‘s unit is the one that engages her.
Worse, missing her also costs you Bryce over in The Battle of Solvaquad, since he is only recruitable once you already have Nina. One wrong engagement, two characters gone.
Three more characters just offer themselves to you, and there is no reward at all for saying no. Berenice in The Mercenary’s Trial and Monica in The Unyielding Shield both need a simple yes.
Selvie at the ancient magic circle wants a yes plus a cleared Sigil’s Trial, Beginner 1. She is the rare forgiving one here, because refusing her is recoverable if you go back and talk to her again.
The two Cornia field gimmicks
Out on the overworld near House Meillet there is a gate you can bolt shut. Bolt it and enemy reinforcements cannot join The Blade of House Meillet partway through.
In that same mission you can announce your approach to Melisandre or ignore her. Announcing yourself triggers an extra cutscene, ignoring her means she warns the Liberation army you are coming.
Neither one locks anything, so take the free cutscene and the free tactical advantage.
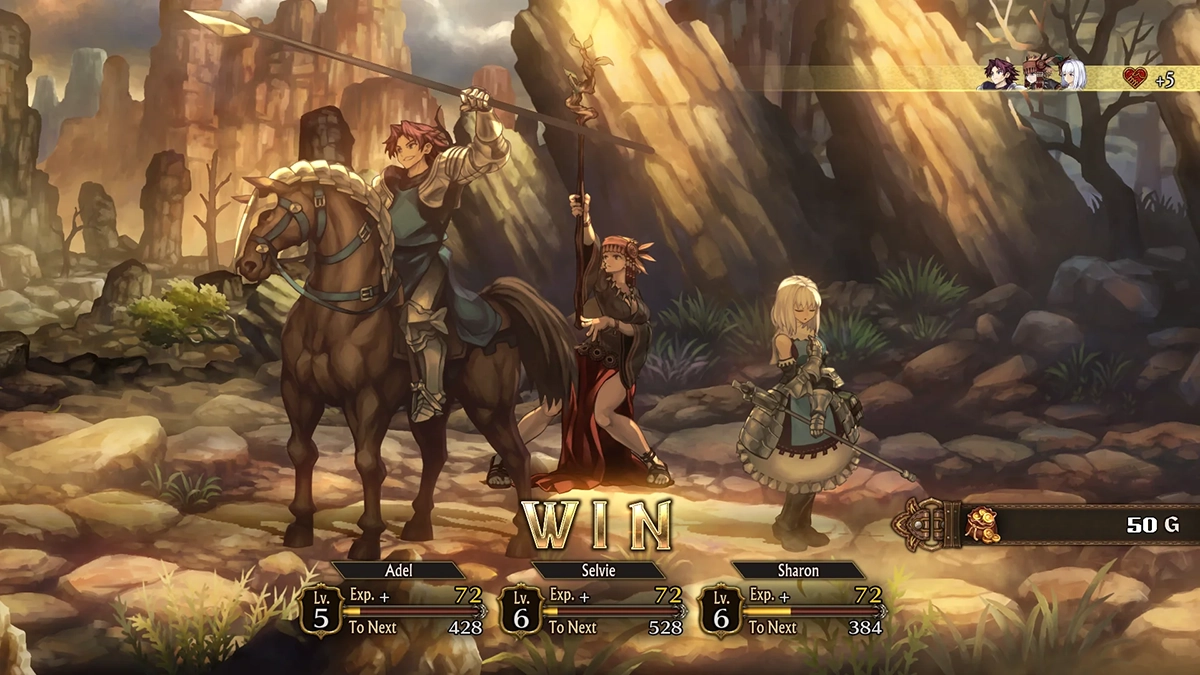
Every choice in Drakenhold
Drakenhold is where the game stops asking you about mercy and starts quietly testing whether you are paying attention to who is standing in front of whom.
Berengaria shows up in The General in Black. You need Alain‘s unit to be the one that engages her, and even then she does not join immediately.
She leaves, and you finish the job later in Heir to the Dragonlands. If Alain was not the one who fought her, that thread never gets picked back up.
Gilbert comes out of that same Heir to the Dragonlands questline, and the recruitment hinges on agreeing when prompted rather than brushing him off. He is a Prince, which is a genuinely rare class, so this is not one to fumble.
Hilda is the fiddliest recruit in the region. Engage her with Primm‘s unit during The Champion of Order, then go back and speak to her again after the battle ends.
That second conversation is the part people skip. The battle is over, you are already looking at the world map, and Hilda is just sitting there waiting for a follow-up nobody told you about.
Jeremy in The Battle for Adopti is a straightforward spare-or-lose. Spare him, take the Sellsword, move on.
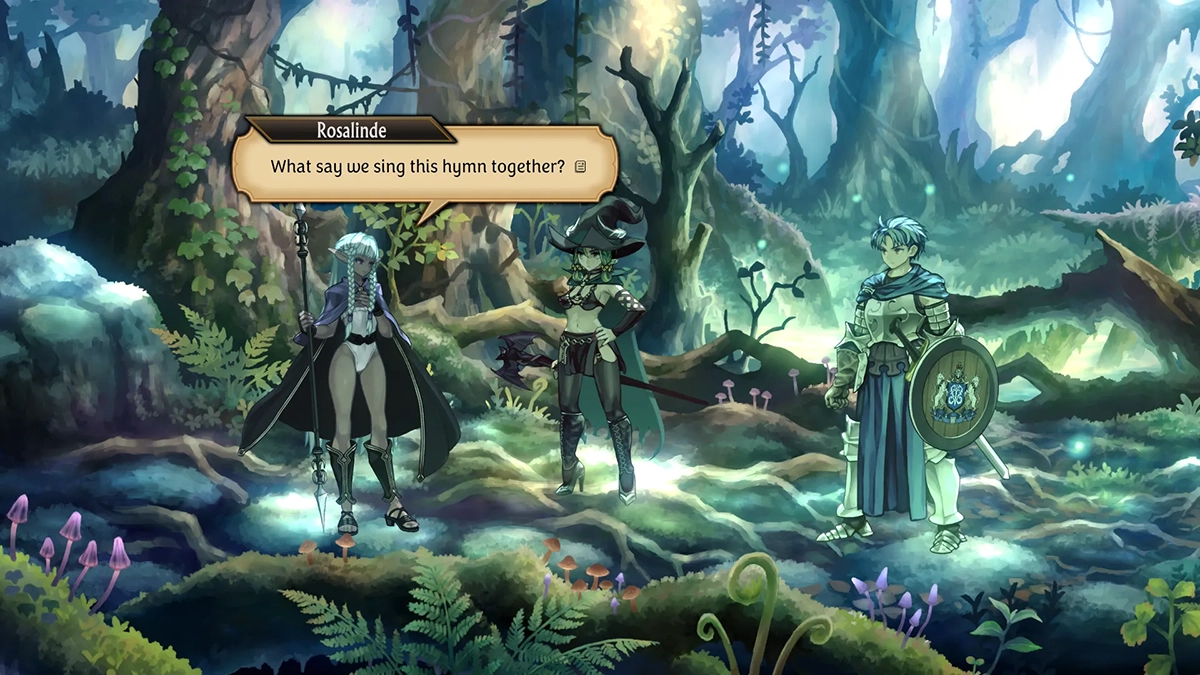
Every choice in Elheim
Elheim is lighter on branching than the regions on either side of it, which is a bit of a relief after Drakenhold.
Ithilion is the one real trap. He joins only if Rosalinde‘s unit engages him during The Elven Knight, and Elven Fencers are good enough that missing him stings.
Ridiel comes from the A Half-Elf’s Resolve side quest with no branching decision attached. Just do not skip the quest.
Elheim is also where Cornia’s mercy finally pays off. A Shifting Tide is the mission where Gammel and Mandrin come back, and it brings Celeste along with them.
If you imprisoned or executed either thief thirty hours ago, this is the moment the game shows you the bill. Nothing in the quest replaces them.
The other thing Elheim hands you is the Ring of the Maiden, which comes out of the main questline here and is the prerequisite for everything in the next two sections.
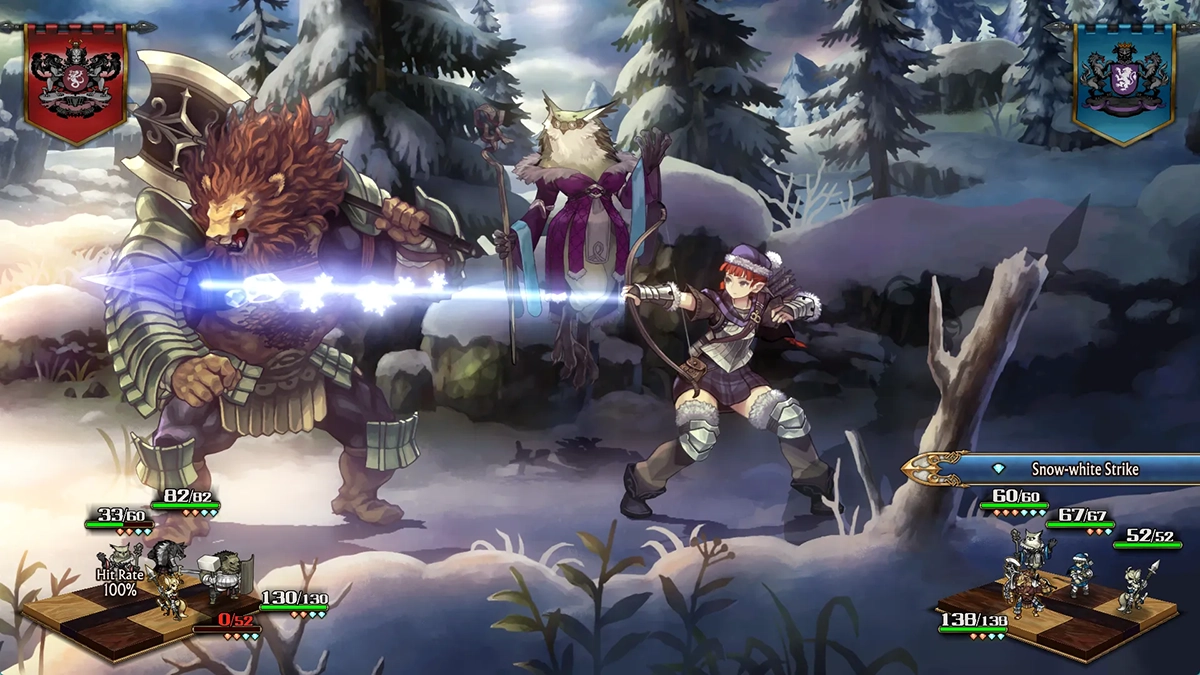
The Bastorias choice almost everyone gets wrong
To Resist or To Yield is the best decision in the game and the most commonly botched one, including by a lot of published guides that will tell you flatly that you have to pick a side.
You do not. You can recruit both Bertrand and Govil in the same playthrough.
Here is how it works. After you reclaim Solvaquad you get pointed at Govil, the werewolf, and at Bertrand, the werebear holed up in the fortress to the north.
Talk to both of them. This is the step people miss, because it is tempting to hear one side out and immediately commit.
Once you have spoken to each of them, a third mission option appears, launched from the fort sitting between their two camps. Taking it means staying neutral and fighting both armies at once.
Beat both leaders and both of them join you. Side with either one individually and the other is permanently gone, with no postgame mission to bail you out.
The catch is that the neutral route is genuinely hard. It is a level 29 battle with roughly 27 enemies coming at you from opposite directions while you defend a base in the middle.
Bring fliers, hold your Valor for the two leader engagements, and treat it as a defense mission rather than a race. Bertrand shows up carrying a Steel Axe, Steel Greatshield, and a First Aid Kit, while Govil arrives with a Steel Sword and not much else, so Bertrand is the better immediate pickup if you only manage to take down one side.
Bastorias has two other recruits worth flagging. Ramona requires Yunifi‘s unit to engage her in Tempest of White, and Laurent shows up once you have finished every Bastorias liberation mission.
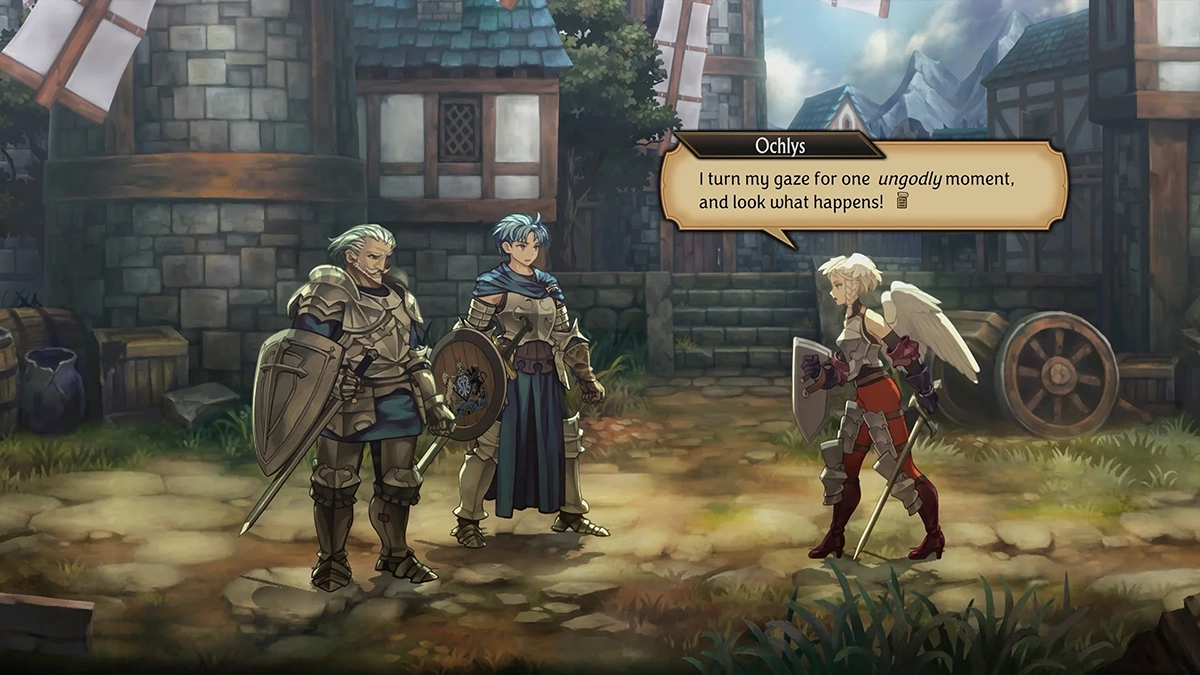
Every choice in Albion
Albion’s one big recruitment puzzle is Umerus in A Faded Flower, out between Heavensriver Town and Fort Viridian Hill.
You need Scarlett in one of your deployed units, and the battle splits your attention in two directions. Hodel’s forces are to the east and Umerus sits to the west.
Beat Hodel in the east first. That triggers an overworld conversation that fills in Umerus’s situation.
Then send the unit carrying Scarlett west and have her speak to him. That conversation ends the battle outright and recruits him, along with 35 Renown, a Spellsteel Bow, a Dream Blossom, and the Magebane Knights key item.
The failure state here is subtle. Scarlett has to survive the trip, so do not park her in a unit that gets shredded on the way across the map.
The Rite of Covenant
The marriage system is a single permanent choice, and the game does a poor job of telling you that before you commit.
Three things have to line up. You need max rapport with your chosen partner, the Ring of the Maiden from Elheim’s main quests, and access to the Unicorn Altar west of Palevia Town.
Rapport comes from three sources. Sharing tavern meals is by far the fastest and costs a pile of gold, running characters together in the same unit builds it passively after every battle, and Alain can hand gifts to stationed guards.
If you are chasing a specific partner, the tavern is the answer. Battles alone will take forever and you will accidentally max out four other people first.
Most unique characters are eligible regardless of gender, which works out to 40 female and 19 male options. That is a wildly generous spread for a game where the romance is essentially a bonus system.
You get one per playthrough. Pick the character whose story you actually want to see close out, not whoever happened to hit max rapport first because they have been riding in Alain’s unit since chapter one.
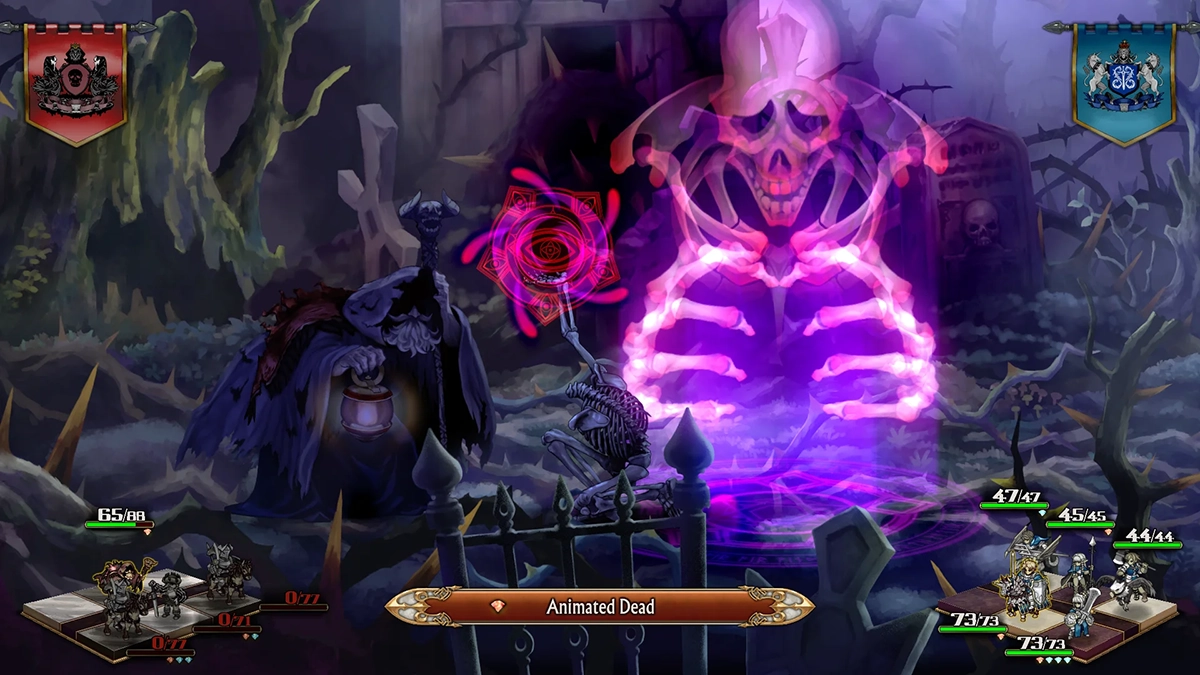
The final choice and the true ending (spoilers)
Unicorn Overlord has two endings, and the split comes down to one dialogue box in the last battle. Getting to the good one requires prep work you cannot do retroactively.
Three requirements, in order.
First, awaken both rings to their true forms, which means completing the Rite of Covenant. The romance system is not optional flavor, it is a hard gate on the true ending.
Second, clear To the Sanctuaries, the main quest that sends you to all six shrines of Fevrith so the Great Sage can bless the rings. It is a main quest rather than a side quest, so it is difficult to miss outright, but it is easy to leave half-finished while you go do something more interesting.
Third, the choice itself. After you put Galerius down, the game offers “Strike him down” or “Emancipate his soul.”
Emancipate his soul is the true path. Galerius comes at you again, and then Baltro turns on him and lays out what has actually been happening, including the truth about Queen Ilenia‘s body and the soul bound inside it.
Baltro is the real final fight. Win that and Alain takes the throne of Cornia properly.
Strike him down gives you the bad ending. Galerius takes Alain’s body the moment his spirit comes loose, which is a bleak note to end forty hours on.

The choices that actually matter
Strip away the flavor and there are really only five decisions in Unicorn Overlord that carry weight.
Talking to both Govil and Bertrand before starting To Resist or To Yield. One extra conversation is the difference between one recruit and two, and there is no second chance.
Deploying Alain against Melisandre. Two characters ride on a deployment decision the game never flags.
Sparing Gammel and Mandrin back in Cornia. The payoff arrives two regions later and the cost of getting it wrong is invisible at the time.
Completing the Rite of Covenant. It reads like an optional romance side system and it is actually a requirement for the ending you want.
Emancipating Galerius’ soul. Forty hours, one dialogue box.
Everything else is texture. And honestly, that is the thing worth appreciating about how Vanillaware built this: you can play Alain as relentlessly merciful, spare every single person who asks, and lose almost nothing for it.
The game quietly rewards the reading that mercy is the correct strategy, not just the nice one. Whether that lands as thoughtful design or as the game putting its thumb on the scale probably depends on how much you wanted the option to be a genuinely ruthless king.
If you want the full roster breakdown rather than the decision points, the complete Unicorn Overlord characters guide covers every recruit and build, and the classes guide handles promotions and where those 30 Honors are better spent.
–
Images in this article are from RPGFan.com and used under Fair Use.